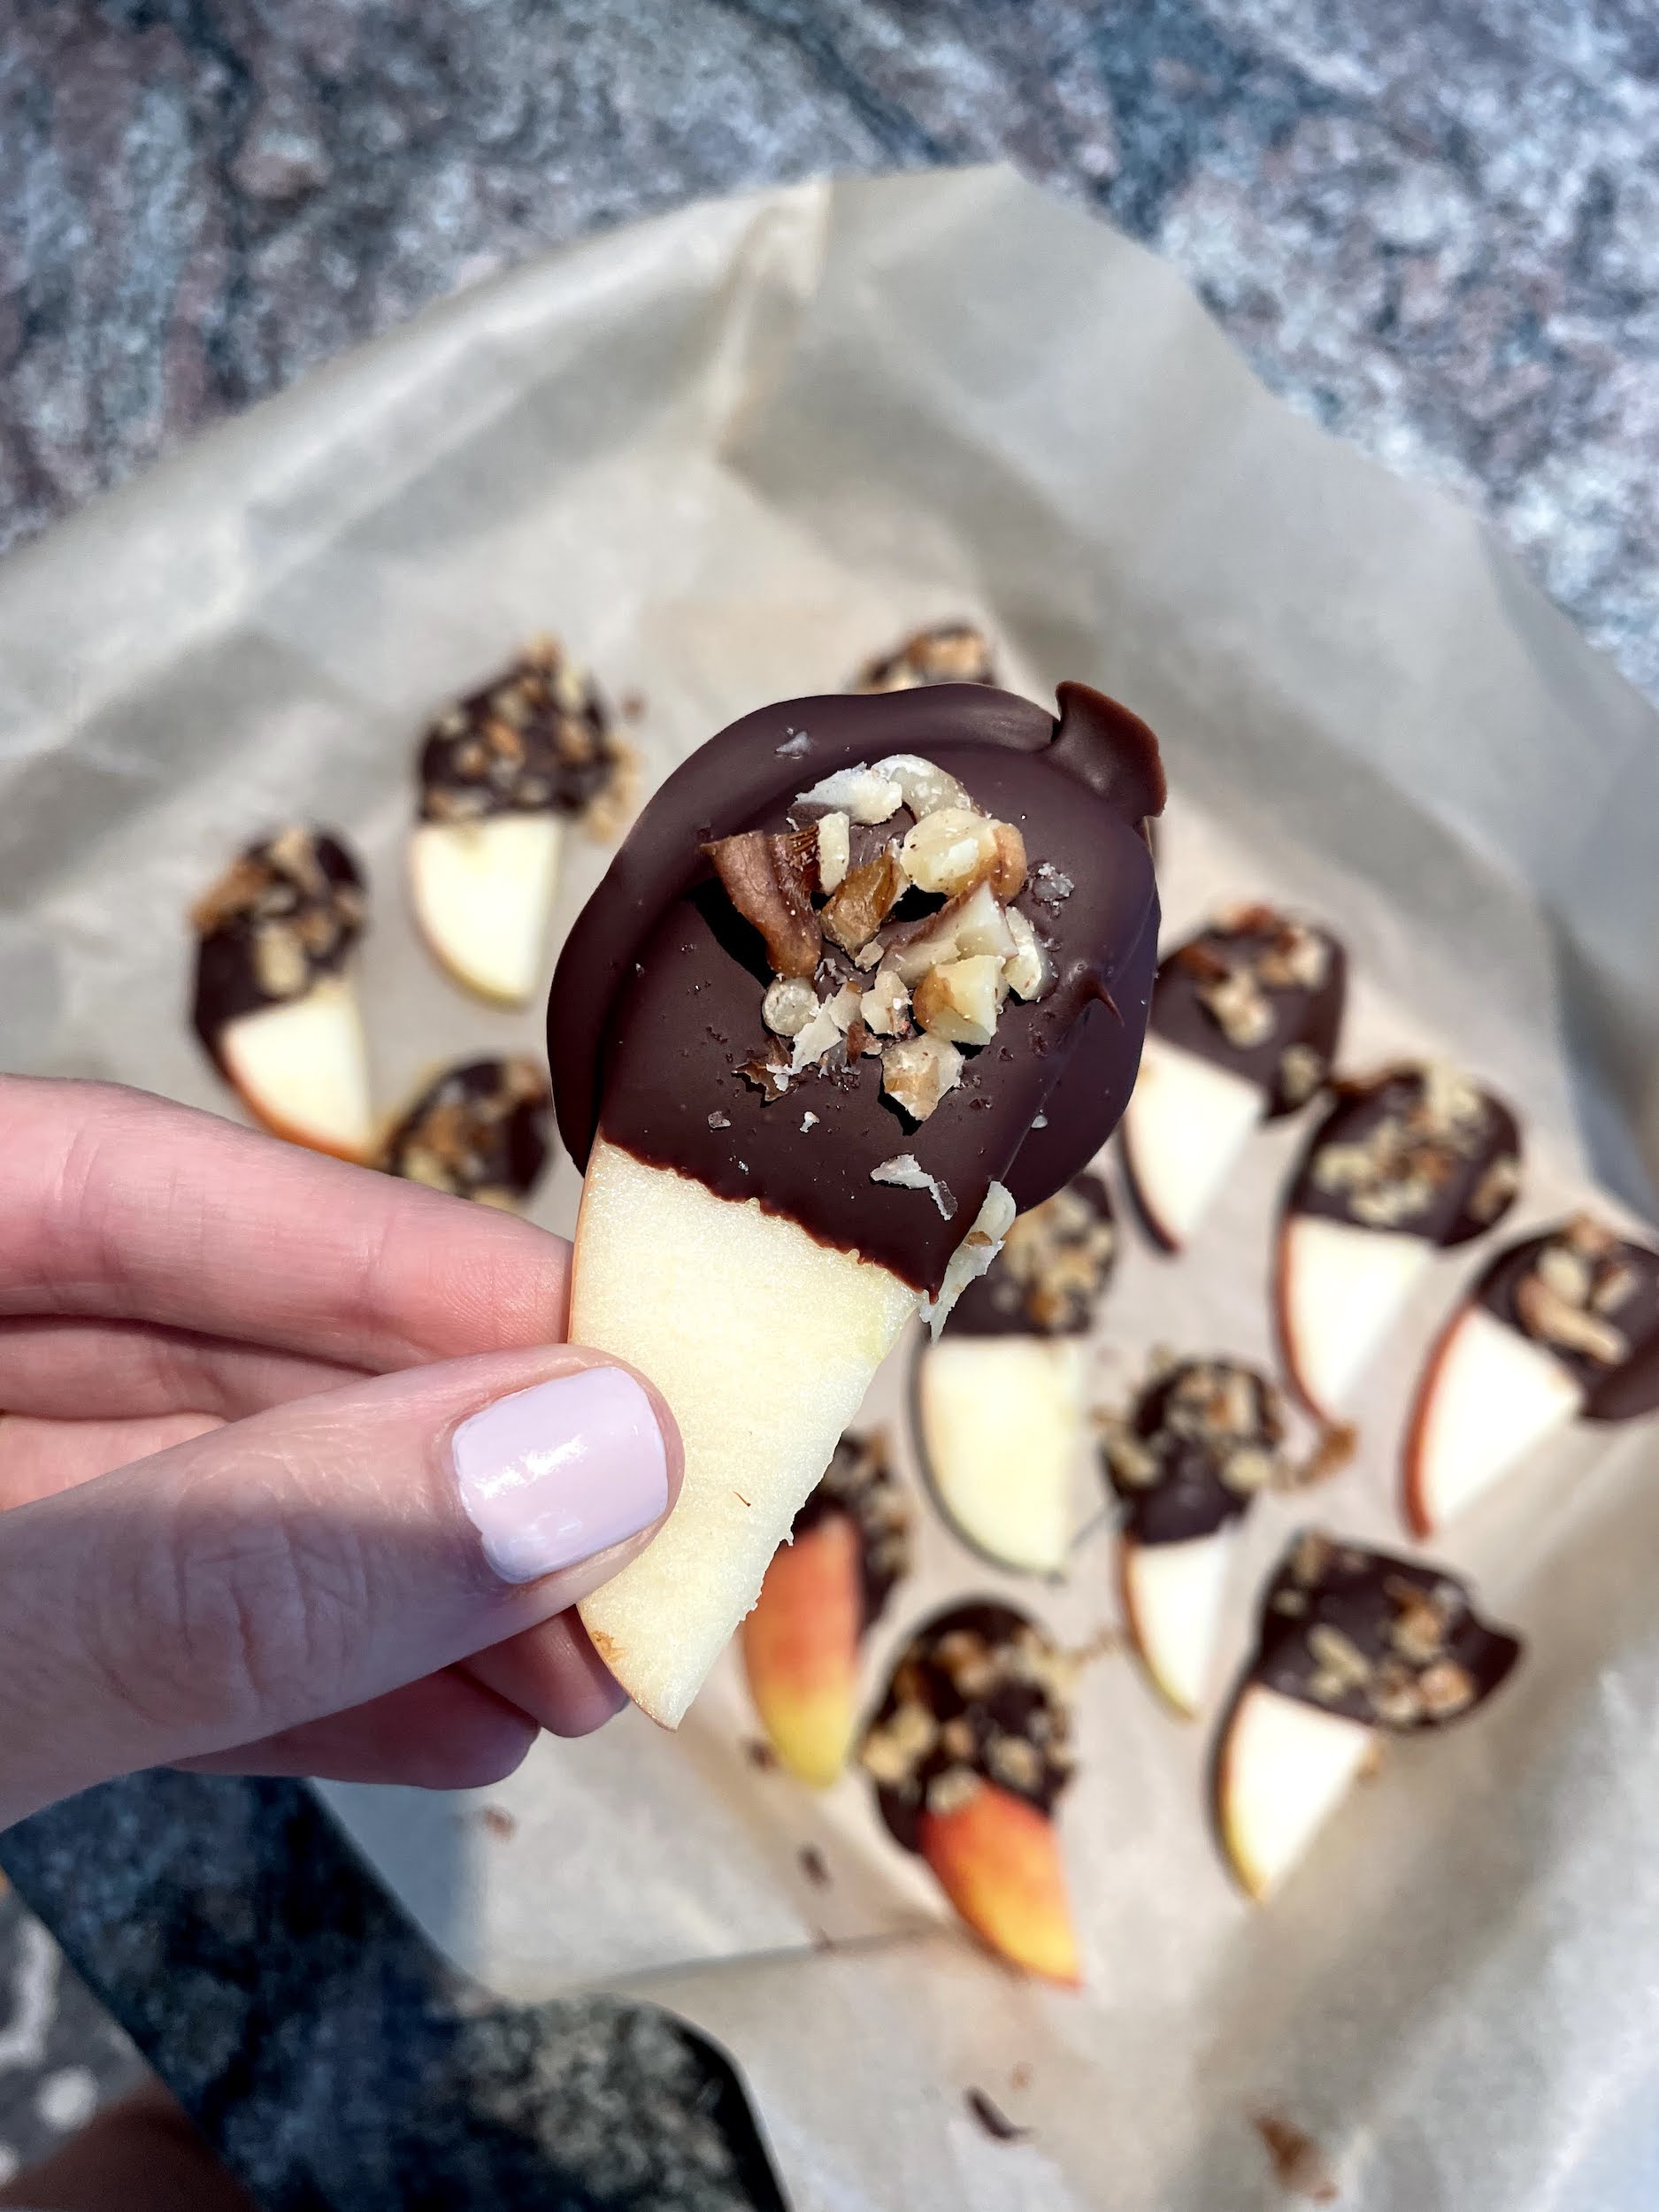
Chocolate Dipped Apples (V, DF, GF)

If you love sweets as much as I do, then I’m sure you’re always looking for healthier options like me. These chocolate dipped apples are super easy to make and you only need 1-2 to satisfy your sweet tooth. Plus they are very pretty, which makes them a great option for when you have guests or to bring to a social event. Here ya go!

Chocolate Dipped Apples (V, DF, GF)
 
Prep time
Cook time
Total time
 
Serves: 17-18 apple slices (Serving 2 apples)
Ingredients
Instructions
  1. Place parchment paper on a baking tray, slice apple into ¼ inch slices and chop up walnuts.
  2. Put the dark chocolate + coconut oil into a glass bowl or measuring cup in the microwave and melt at 30 second increments and stir. Usually will take about 2 minutes to melt everything without burning!
  3. Dip half of each apple into the melted chocolate and place on parchment paper. Sprinkle with chopped walnuts + sea salt every few apples as the chocolate will harden quickly.
  4. Place in the fridge for at least 30 minutes to harden and enjoy! Lasts in the fridge for up to 3 days.


Happy snacking!

With Health + Happiness Always,
Jax

PS – Looking for a group program to learn more about nutrition + create a healthy, sustainable lifestyle? Check out my 6 Week Nutrition 101 Group Program launching on Monday, March 7th!

 

Peppermint Holiday Bark

This holiday treat is a classic: PEPPERMINT HOLIDAY BARK. I traditionally bring this as a dessert or gift it to friends + family since it’s super thoughtful, yummy + easy to make. If you don’t know this about me by now, I’m a HUGE fan of dark chocolate. You can also use whatever toppings you love or readily have available in your pantry. This recipe is the perfect fit for the “Little Adapts” lifestyle – easy + convenient!

Peppermint Holiday Bark
 
Prep time
Cook time
Total time
 
Serves: 32 pieces
Ingredients
Instructions
  1. In a glass measuring cup or bowl, place dark chocolate, coconut oil + peppermint and heat for about 2 minutes. Checking every 40 seconds to mix the chocolate and make sure it doesn’t burn.
  2. While the chocolate is heating, place parchment paper over a large cookie tray and chop cashews.
  3. Pour chocolate mixture in the middle of the parchment paper in a rectangular shape.
  4. Use a spatula to spread out the mixture evenly, but make sure not to make it too thin or it will fall apart!
  5. Distribute nuts, seeds, berries + coconut (you can obviously substitute for whatever toppings you prefer in your bark!)
  6. Place into the fridge for about 15-20 minutes to harden.
  7. Take the chocolate out of the fridge and cut into bark like pieces.


Hope you enjoy them as much as I do – Happy Holidays!

With Health + Happiness Always,
Jax

PS – Want to start 2022 with your best foot forward? Join me for the 12 Day Real Food Reboot launching on Monday, January 3rd!

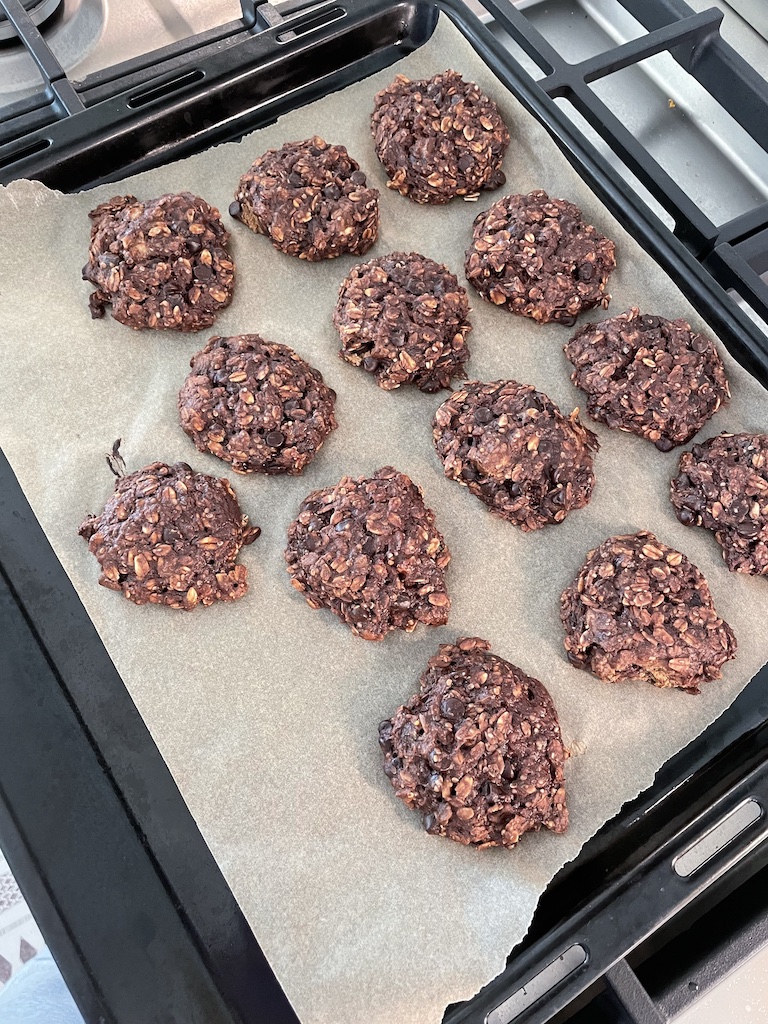
Peppermint Mocha Cookies (DF, GF, V)

My famous banana breakfast cookies are one of my client’s favorite recipes bc they taste amazing, there is no added sugar, and you can eat them for breakfast, as a snack/dessert or pre/post workout. Now you can enjoy them in a new holiday flavor! Here are the dEats:

Peppermint Mocha Cookies (DF, GF, V)
 
Prep time
Cook time
Total time
 
Serves: 12-16
Ingredients
  • 3 ripe bananas, mashed
  • ½ cup almond butter or sunflower butter
  • 1 flax egg (1 tbsp ground flax seed to 1.5 tbsp water)
  • 1 tsp peppermint extract
  • 1.5 cups rolled oats
  • ¼ cup unsweetened cacao powder
  • 4 tbsp hemp hearts
  • 1 tsp baking powder
  • ⅓ cup vegan dark chocolate chips
Instructions
  1. Preheat the oven to 350 degrees F. Place the water + ground flax seed into a small bowl + whisk. Then let it sit for 5 minutes.
  2. In a large bowl, mix wet ingredients together: mashed banana, almond butter, flax egg + peppermint extract.
  3. Then add in oats, cacao, hemp hearts and baking powder until well combined.
  4. Fold in chocolate chips.
  5. Using a spoon or ice cream scooper, place batter onto baking tray.
  6. Bake for about 15 to 17 minutes until edges are browned. Make sure to rotate trays halfway!
  7. Cool on baking rack for 10 minutes + enjoy! Keep in the fridge for up to 2 weeks.


Happy snacking and happy holidays! Don’t forget to tag me if you make them 🙂

With Health + Happiness Always,
Jax

PS – These cookies are Reboot approved if you make them with cacao nibs instead of dark chocolate chips 🙂  The next one is launching on Monday, January 3rd – click here to sign up!

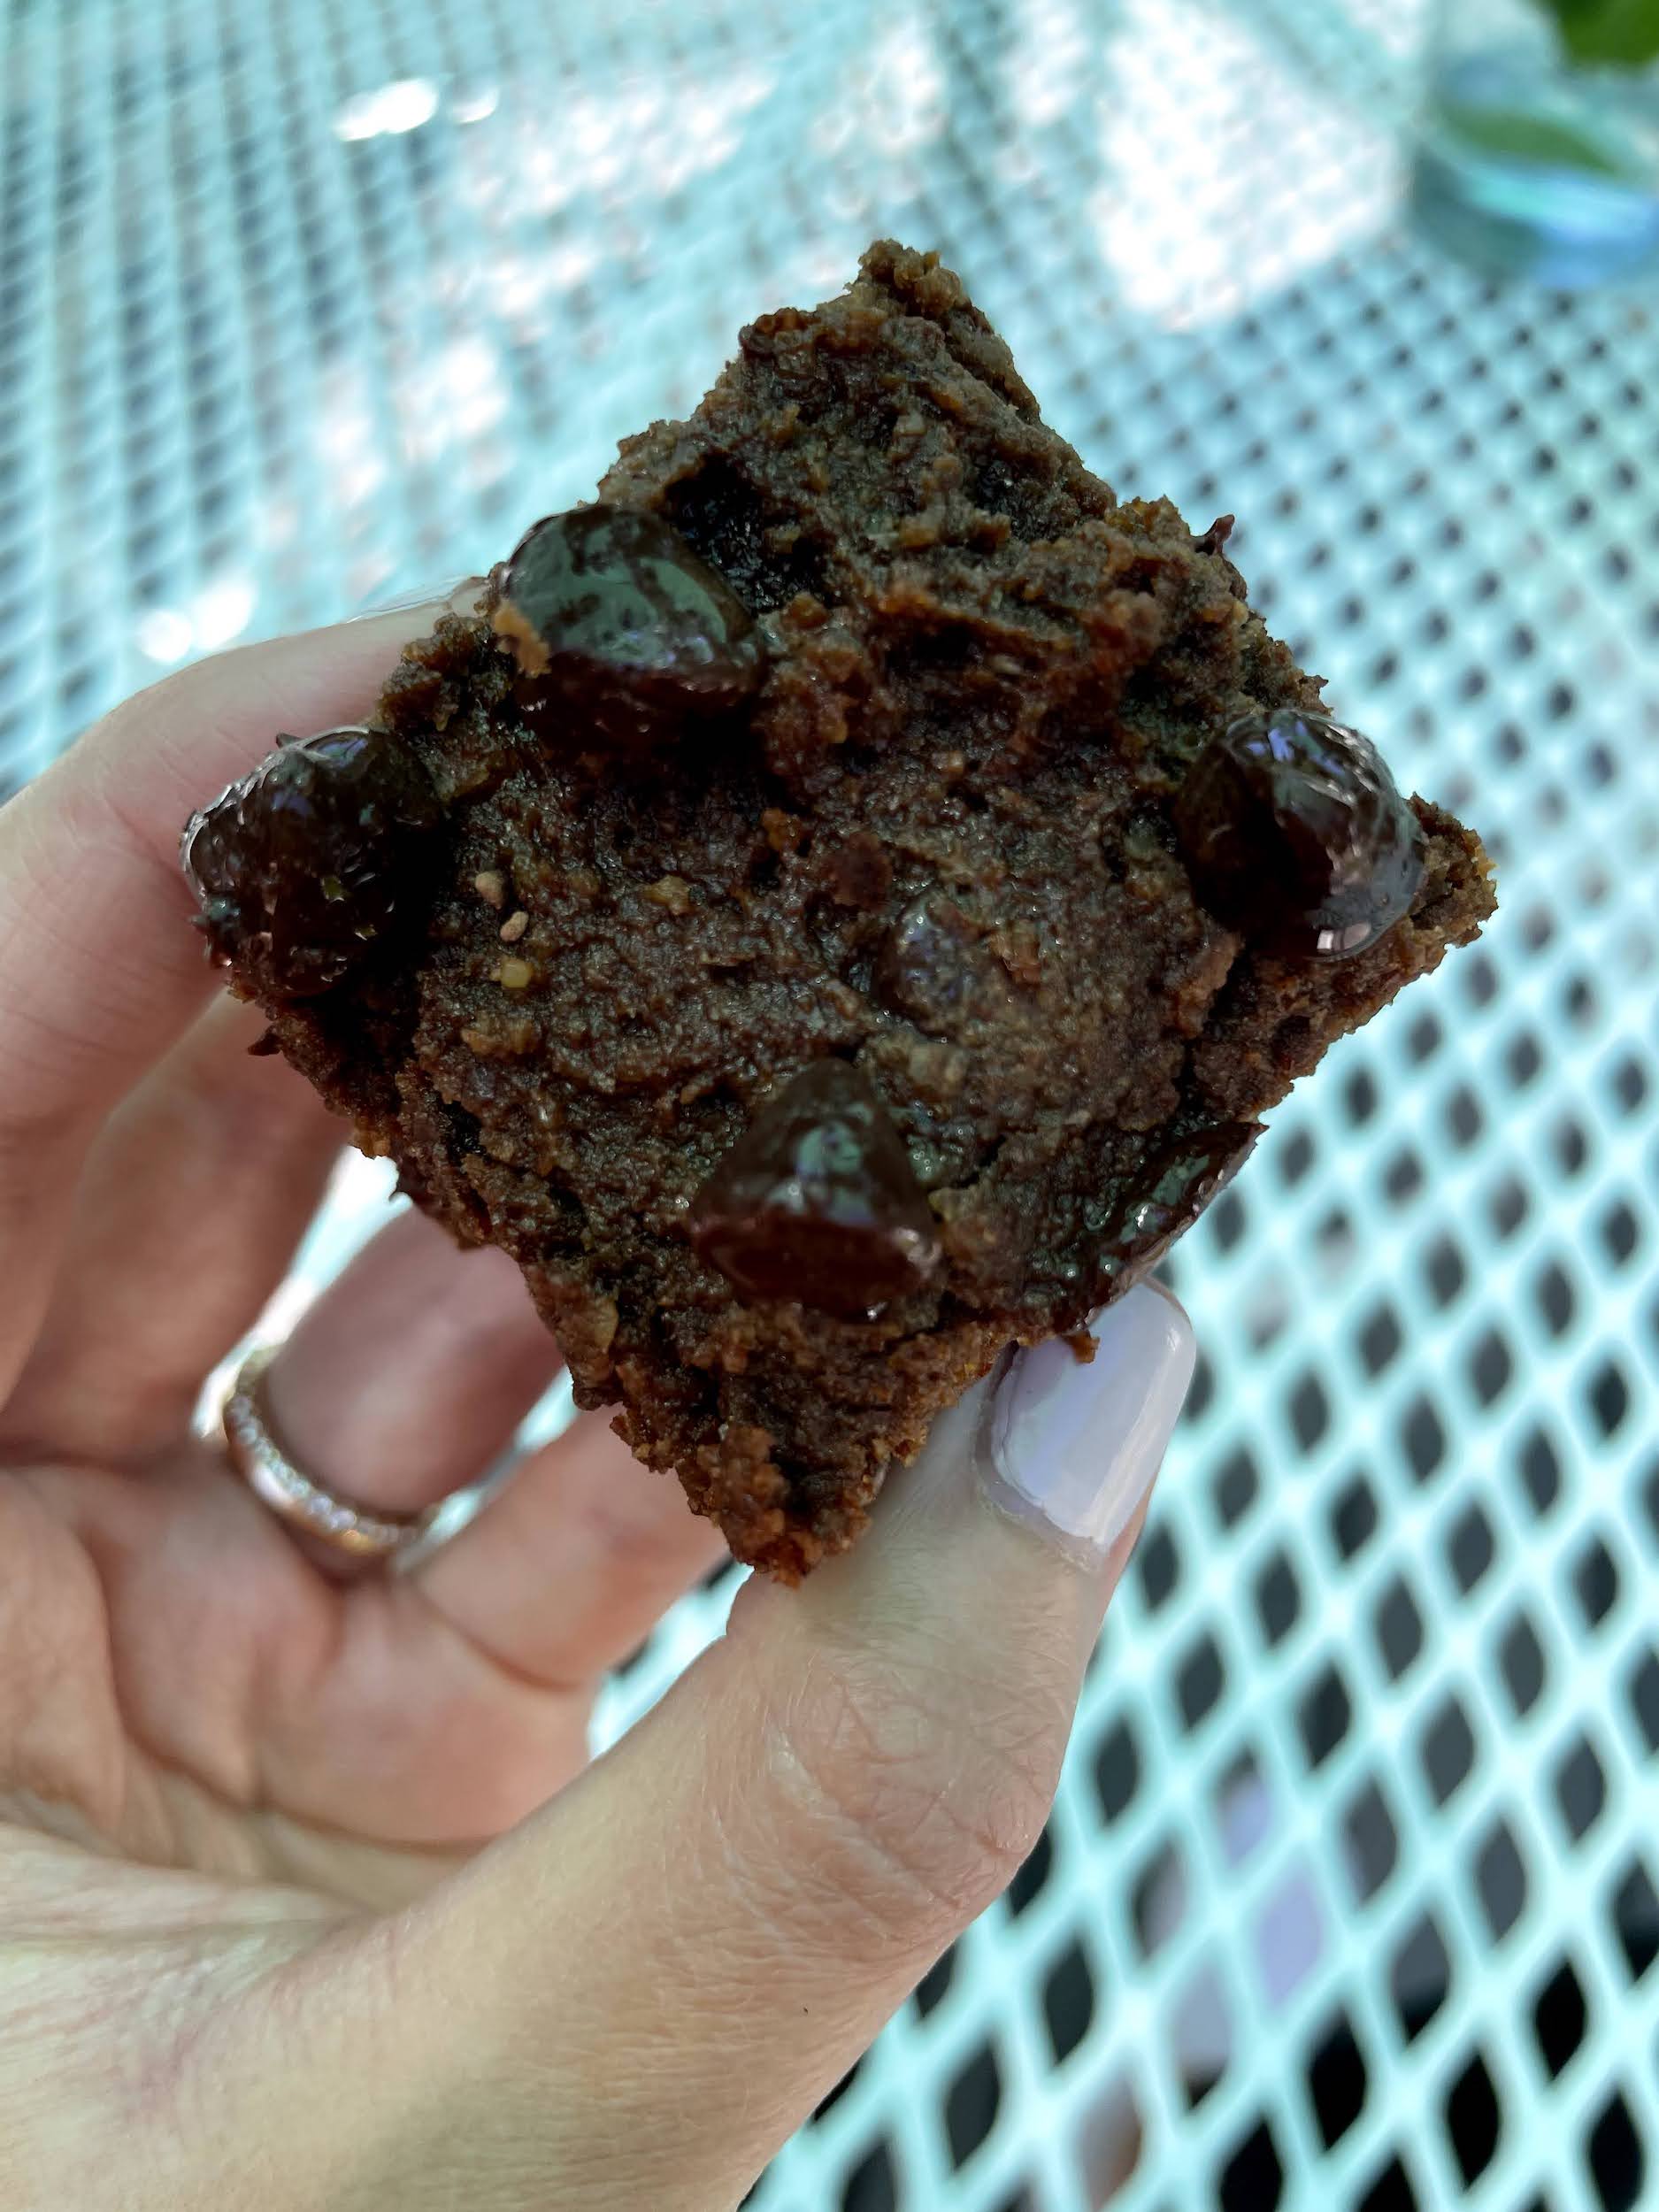
Pumpkin Brownies (DF, GF, V)

Weekly recipes from Jax are back! As pumpkin season comes to an end, I wanted to post just one last recipe in case you are looking for a new treat for Thanksgiving. I actually recipe tested these bad boys over the summer while pregnant and they tasted amazing despite the 80 degree weather, haha. Here ya go!

Pumpkin Brownies (GF, DF, V)
 
Prep time
Cook time
Total time
 
Serves: 12 servings
Ingredients
Instructions
  1. Preheat the oven to 350 degrees F. Place the water + ground flax seed into a small bowl + whisk. Then let it sit for 5 minutes.
  2. In a large bowl, add in the pumpkin, almond butter, vanilla extract, maple syrup + flax egg and stir.
  3. Next add in almond flour, coconut flour, unsweetened cacao powder, baking powder, pumpkin pie spice and mix again until well combined.
  4. Fold in vegan dark chocolate chips and optional pumpkin seeds (leave a handful of each to sprinkle on top before it bakes).
  5. Using a spatula, place batter into an 8x8 or 9x9 baking pyrex lined with parchment paper. Sprinkle remaining chocolate chips + pumpkin seeds on top.
  6. Bake for about 30-35 minutes until edges are browned and a toothpick comes out clean.
  7. Cool for 10-15 minutes + enjoy! Store in an airtight container in the fridge for up to 2 weeks.


Hope you enjoy them!

With Health + Happiness Always,

Jax

PS – Want to become part of the “little adapts” community while building your healthy + happy life? Join the Little Adapts By Jax App for a 6 week nutrition course, daily workouts, and so much more!

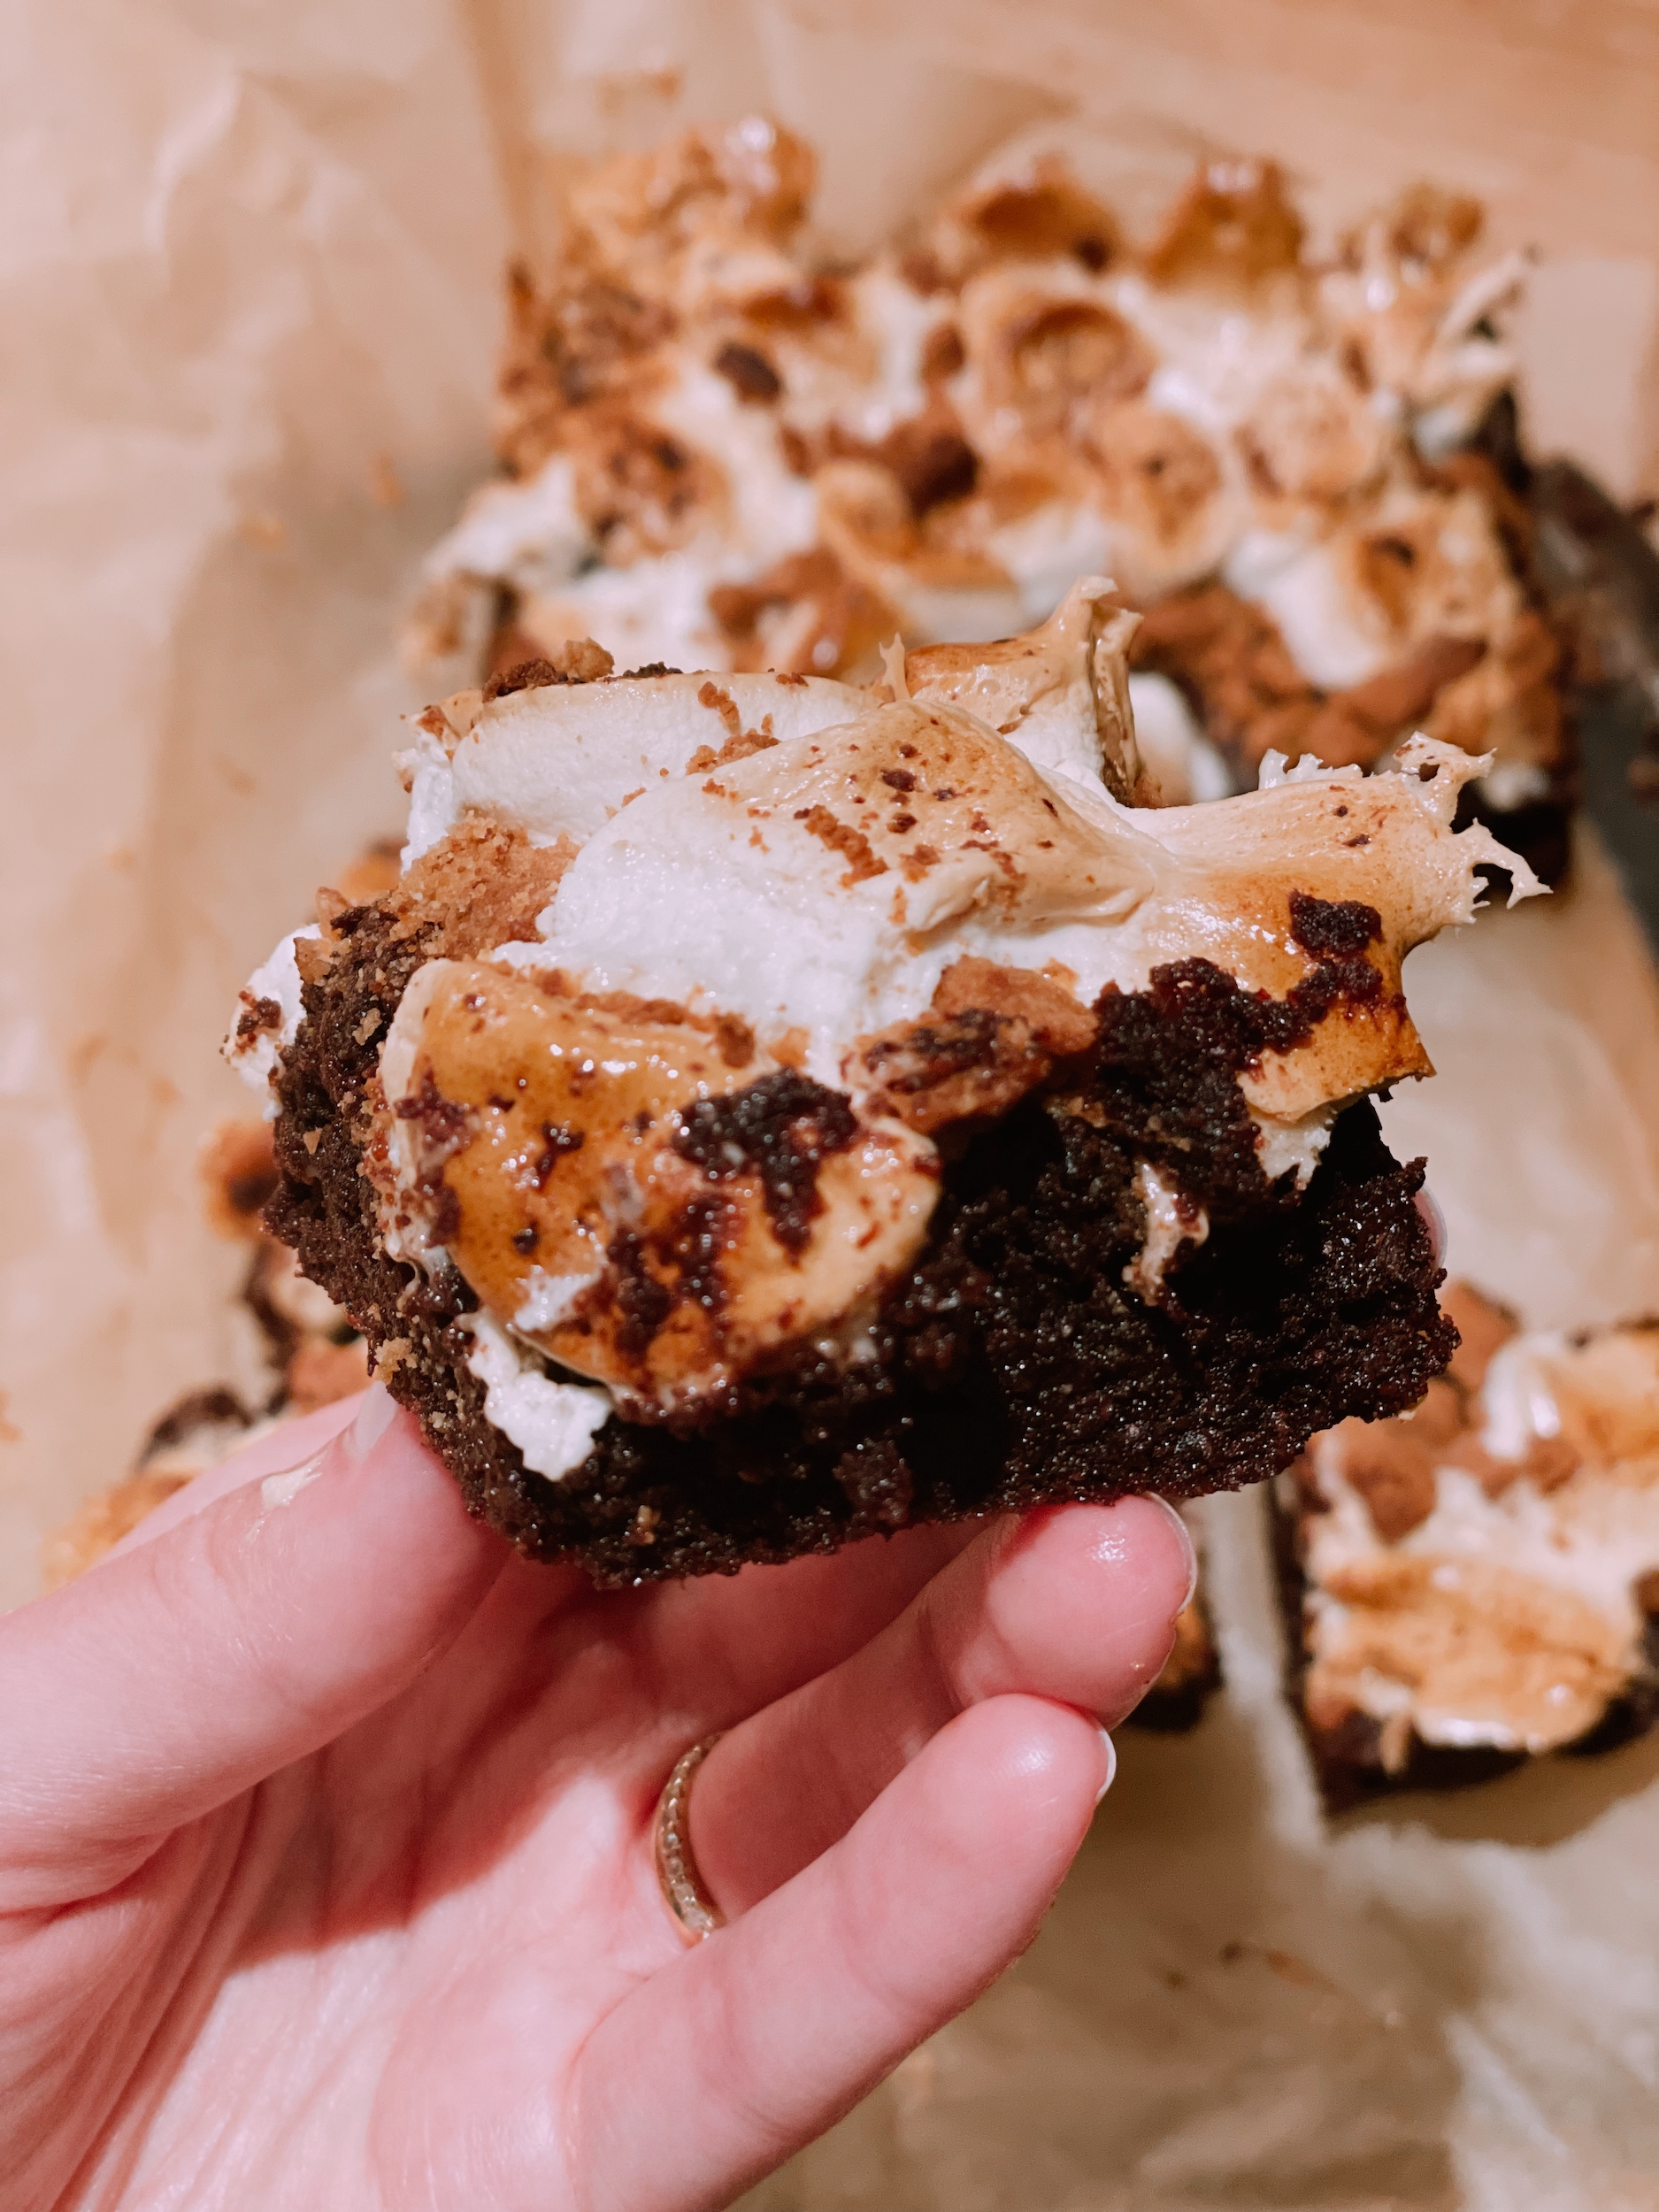
S’mores Brownies (GF, DF)

I really wanted a s’more on the 4th of July, but of course the weather was not cooperating! I decided to take matters into my own hands and created these s’mores brownies and it came out better than expected! This is a summer dessert you do not want to miss out on and only requires 3 ingredients 🙂

S'mores Brownies (GF, DF)
 
Prep time
Cook time
Total time
 
Serves: 12 servings
Instructions
  1. Follow the directions on the brownie mix.
  2. While the brownies are baking, cut up the marshmallows and cookies.
  3. When there is 5 minutes remaining on the brownies, take them out of the oven and evenly distribute the marshmallows and cookies over the top of the brownies.
  4. Place brownies back in the oven for the remaining time. Let the brownies cool for at least 15 minutes and enjoy!


The easiest way to have a s’more without having a fire pit. Enjoy!

With Health + Happiness Always,
Jax

PS – Want to continue working with me while I’m on maternity leave? Sign up for the Little Adapts By Jax App to start my 6 Week Nutrition Plan and start feeling your best today 🙂

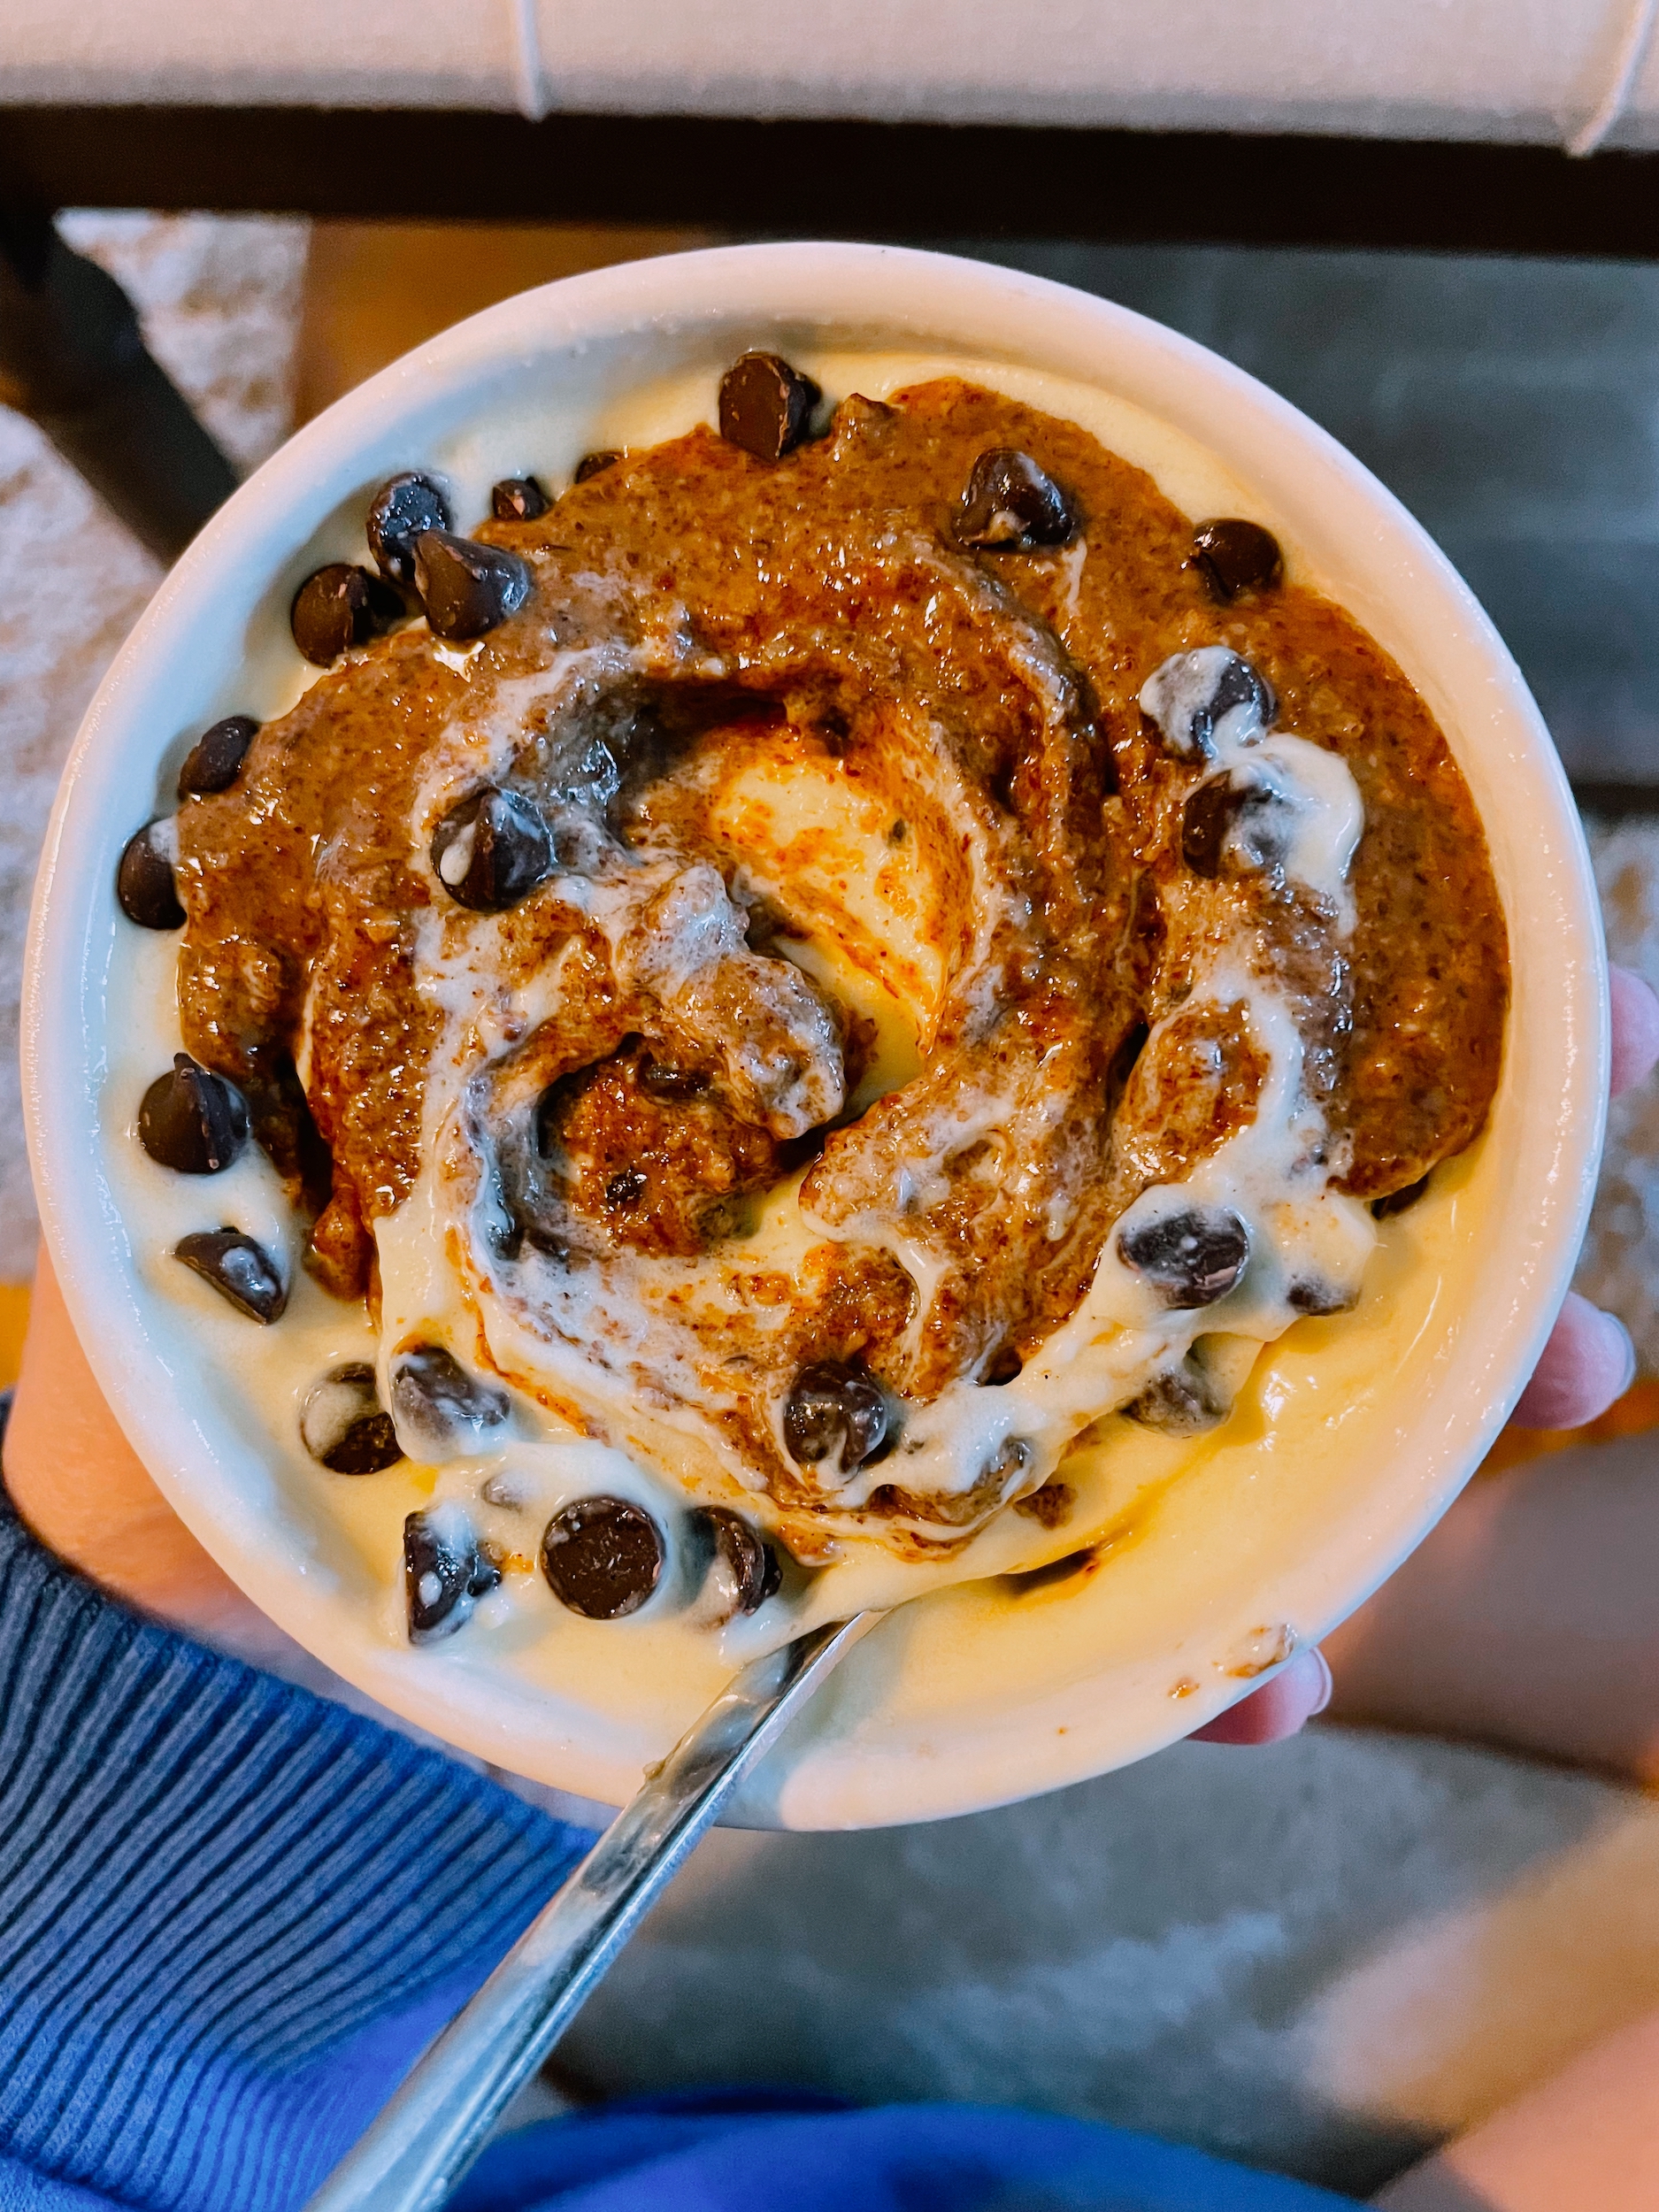
Tropical Nice Cream

Now that the summer is in full effect, I’m craving lots of cooling foods like nice cream! This is also the easiest and healthiest way to satisfy an ice cream craving and literally takes 2 minutes to make. Top it off with nut or granola butter + some vegan dark chocolate chips and it’s pure heaven!

Tropical Nice Cream
 
Prep time
Total time
 
Serves: 1 serving
Ingredients
  • 1 frozen banana
  • ⅓ cup frozen mango or pineapple
  • ⅛-1/4 cup of coconut milk or non-dairy milk
  • Optional Toppings: nut or granola butter/granola + chocolate chips
Instructions
  1. Place frozen bananas, frozen mangos or pineapple + coconut milk into a high speed blender.
  2. Start to blend on a low speed and gradually increase the speed enough to blend but not turn your mixture into a smoothie. (The key to nice cream is using minimal liquid so just add a splash more if you feel like you need it.)
  3. Eat immediately in a bowl with your favorite toppings. Enjoy!


With Health + Happiness Always,
Jax

PS – Have you signed up for the Little Adapts By Jax App yet?! If not, start feeling your best TODAY from both a nutrition + fitness perspective by clicking here 🙂

Vegan Mocha Chocolate Chip Ice Cream

With MDW upon us, I wanted to share this easy vegan ice cream! My favorite ice cream flavor has always been coffee and I struggle sometimes to find really good coffee vegan ice cream. This recipe is pretty simple, but I recommend making it fresh to eat rather than making the whole batch and refreezing (I’ve tried and it doesn’t end well and freezer burn is a real thing!) Plus, it’s only sweetened with maple syrup and is packed with a ton of flavor and healthy fat 🙂

Vegan Mocha Chocolate Chip Ice Cream
 
Prep time
Cook time
Total time
 
Serves: 3-4 servings
Ingredients
Instructions
  1. Place all ingredients except chocolate chips into a blender and blend until well combined.
  2. Pour into ice cube trays (will fill about 1.5 trays) and freeze for about 3 to 4 hours or overnight.
  3. Place ice cubes into a high speed blender or food processor to make ice cream. Blend until creamy - make sure not to over blend or it will be more like a smoothie.
  4. Add in chocolate chips and pulse a few times until chocolate is blended in and chopped up.
  5. Serve immediately and enjoy! You can place remainder in the freezer in a freezer safe container to enjoy for later.


Hope you enjoy this vegan ice cream as much as I do 🙂

With Health + Happiness Always,
Jax

PS – Want to get your body and your cooking in order for the summer? Sign up for my Little Adapts By Jax App with amazing barre + yoga workouts, “little adapts” for eating healthier + easy recipes to squeeze into your day. Use code “LITTLEADAPTS” for 50% off your first month!


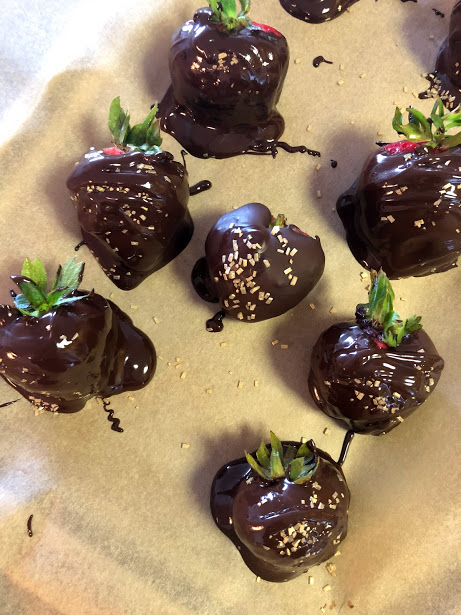
Dark Chocolate Covered Strawberries

Chocolate covered strawberries are one of my all time FAVORITE desserts and they are so easy to whip up at home! I love to top mine with sprinkles, unsweetened shredded coconut or chia seeds and they always hit the spot after any meal. Since they are so easy to make, it’s one of my go to dessert recipes for holidays and when we have friends over for dinner!

Dark Chocolate Covered Strawberries
 
Prep time
Cook time
Total time
 
Serves: 12
Ingredients
Instructions
  1. Place the dark chocolate + coconut oil into a glass bowl or measuring cup in the microwave and melt for 45 seconds to 1 minute + 30 seconds. Make sure to stop periodically to stir so it doesn't burn!
  2. Place parchment paper on a baking tray.
  3. Grabbing the strawberries by the stem, dip each strawberry in the melted chocolate and place on parchment paper. Sprinkle with unsweetened shredded coconut every few strawberries as the chocolate will harden quickly.
  4. Place in the fridge for at least 30 minutes to harden and enjoy! Lasts in the fridge for up to 2 weeks (I promise they won't last that long though!)


Enjoy!

With Health + Happiness Always,
Jax

PS – Need a quick reset? Sign up for the 12 Day April Reset App Challenge + join me in kicking off the summer right! Click here to sign up if you aren’t already and use code “LASUMMER” for 7 days FREE + 50% off the first 2 months of the app ($9.98 instead of $19.97 per month!)

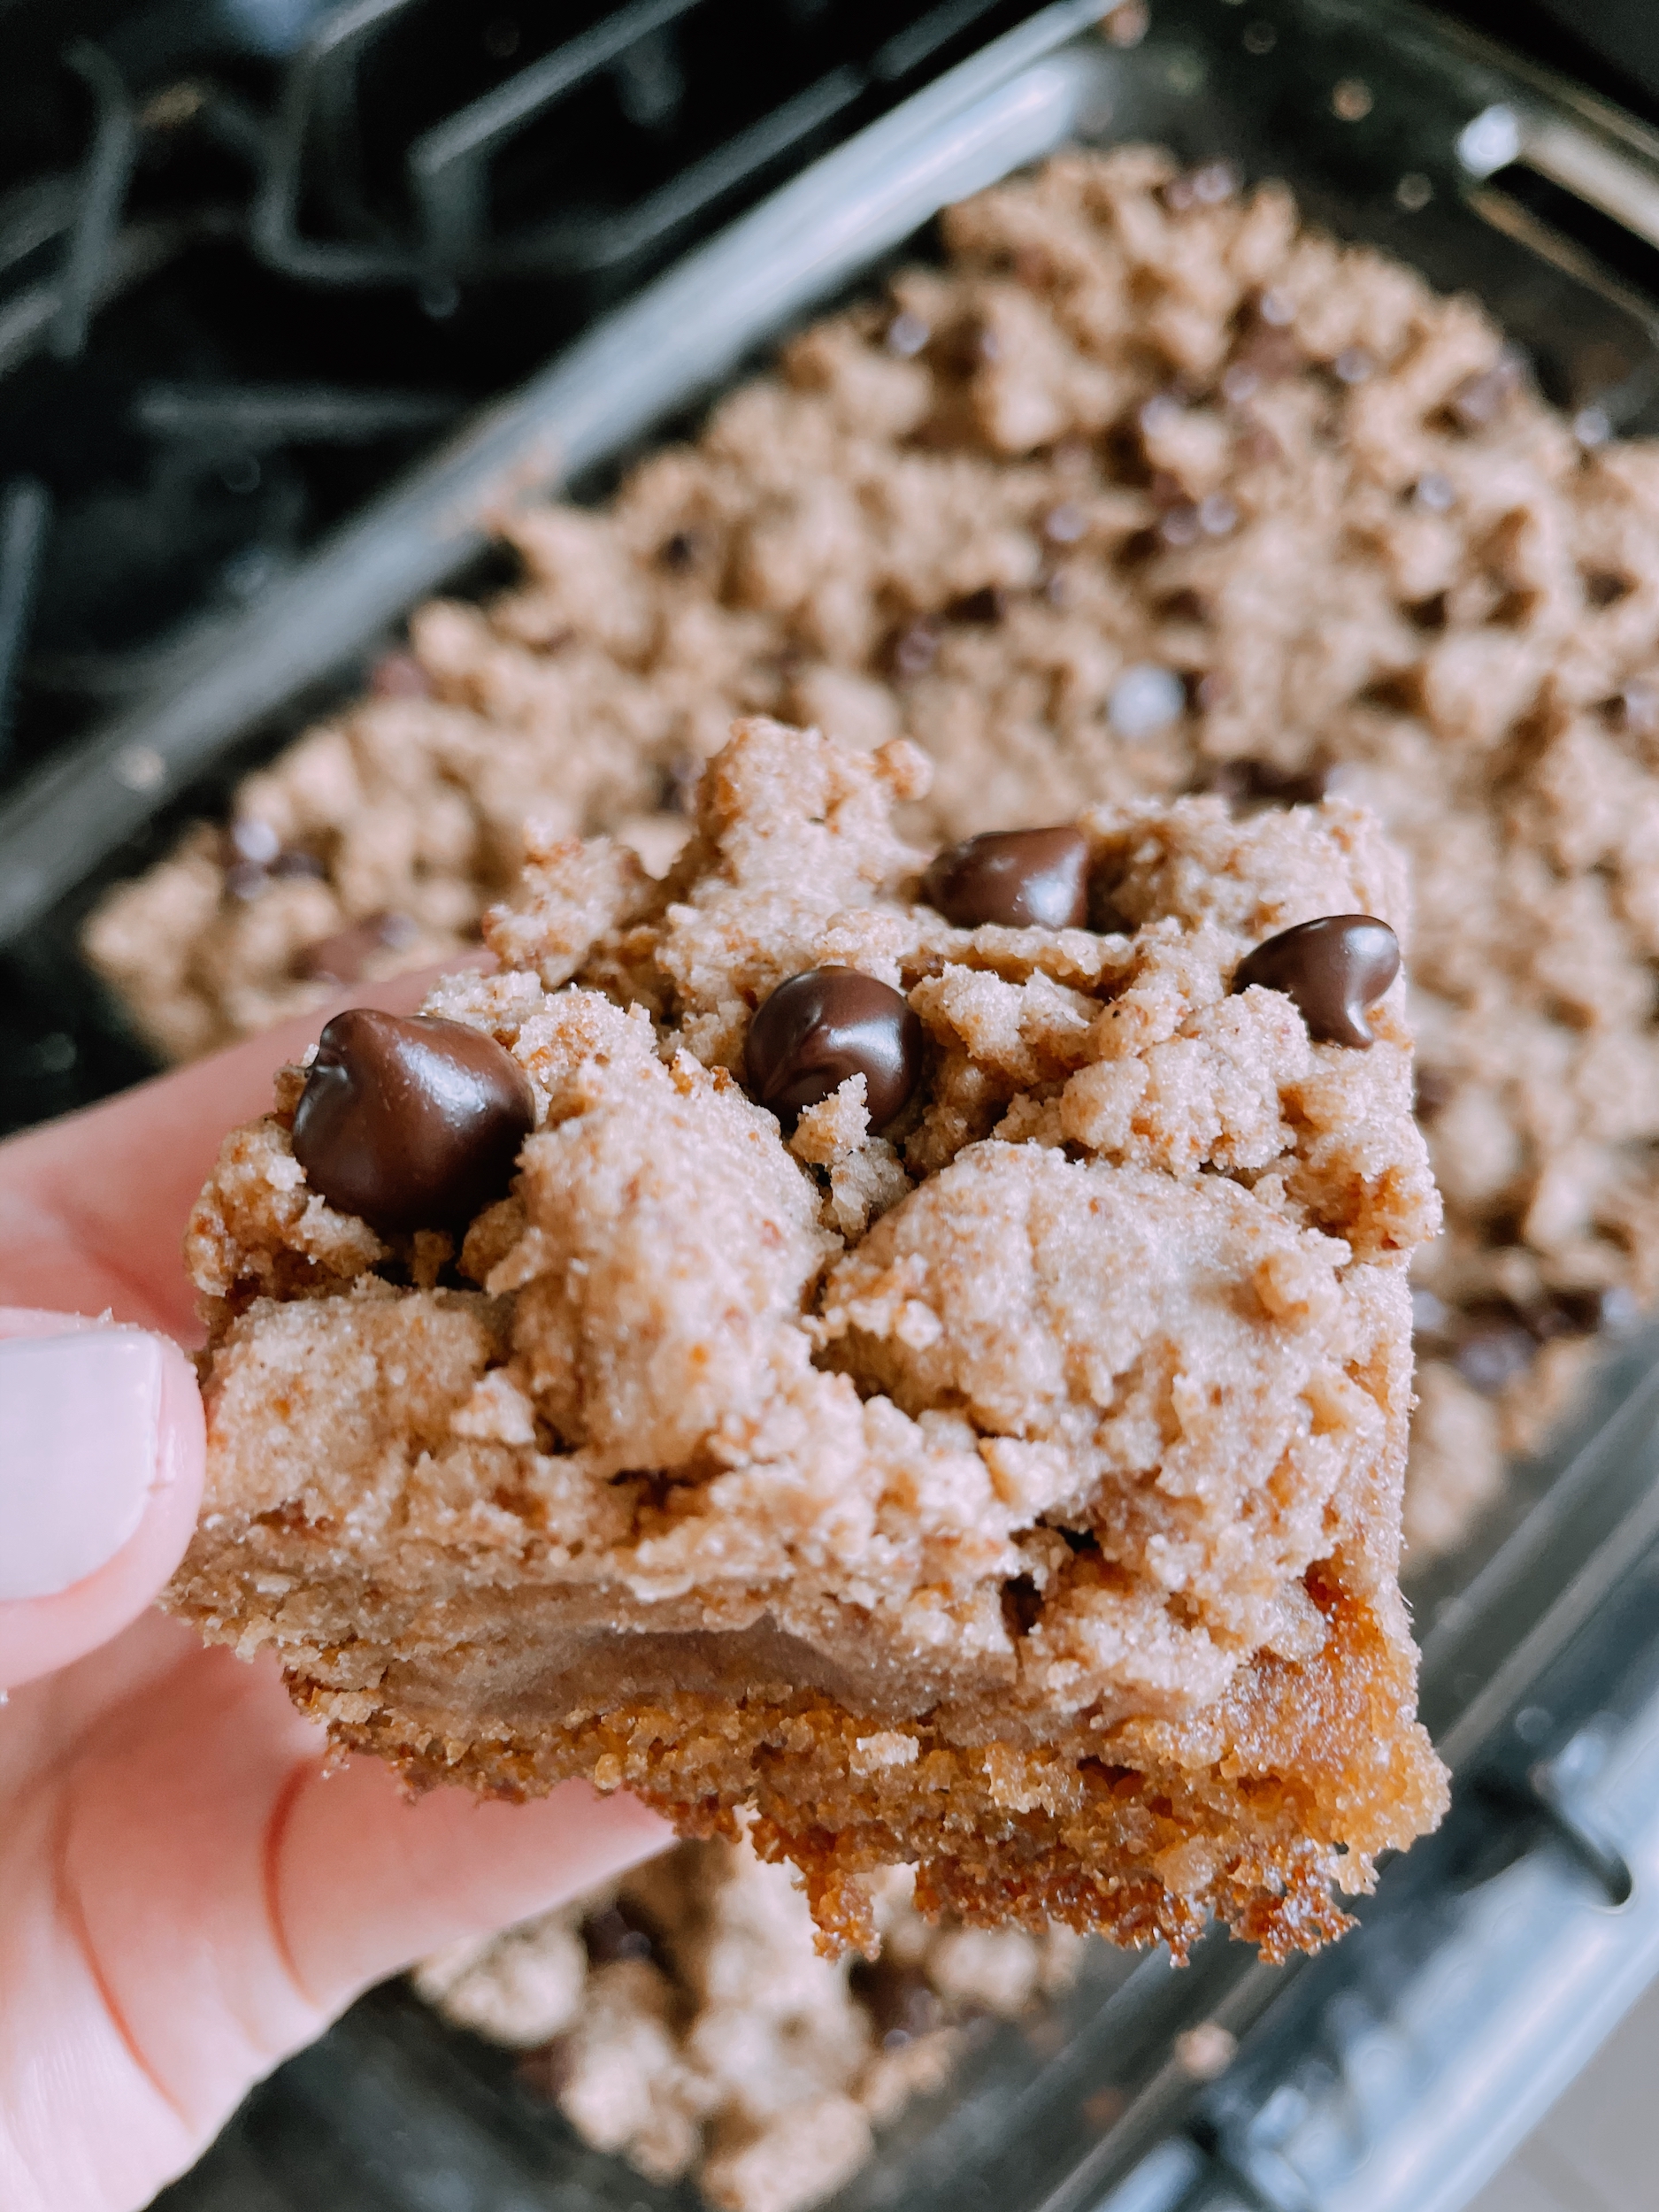
Momma’s Famous Crumb Cake (GF, DF)

My mom hands down makes some of the best crumb cake around so I of course was determined to “little adapt” this recipe too! I’m not going to lie but this recipe testing took a LONG time because I wanted to preserve the taste and texture of the cake as much as possible. My final attempt was a success as it was approved by not only my boo, but all of my Little Adapts By Jax App trailer talent! The best part is that it’s gluten-free and dairy-free. You NEED to make this for Easter brunch this weekend or the next time you have your friends over for brunch 🙂 I know I am!

Momma's Famous Crumb Cake (GF, DF)
 
Prep time
Cook time
Total time
 
Serves: 20 - 24 pieces of crumb cake
Ingredients
Cake:
Crumb Topping:
Instructions
  1. Preheat the oven to 350 degrees F.
  2. Follow directions on the box and grease a 13” x 9” pan. Bake for about 15-17 minutes. You don’t want the top browned but you do want the top layer to be solid so the crumbs don’t fall into the cake.
  3. While the cake is baking, mix the dry ingredients for the crumbs. Then add in vanilla extract and the melted vegan butter.
  4. Mix with a spoon until a thick texture starts to form. Use your hands to crumble the crumbs on top. Sprinkle chocolate chips on top if adding them to the recipe.
  5. Bake for an additional 15-17 minutes until the crumbs are browned.
  6. Cool for 10-15 minutes and then serve + enjoy! Keep covered or in any airtight container for up to 2 weeks.
Notes
If your pan is bigger, cook the cake slightly less. If your pan is smaller, cook the cake for slightly longer.


Please tag me if you make it 🙂 @littleadaptsbyjax

With Health + Happiness,
Jax

PS – Don’t forget to take advantage of these awesome  Gilt City offerings + discounts I have available through Thursday, 4/1!

Carrot Cake Banana Bread (GF, DF, V)

I’ve been wanting to make a carrot cake banana bread b/c I LOVE sweetening my sweets with bananas and carrot cake is the BEST. Bananas have been one of my go to foods during pregnancy as it helps alleviate my headaches. This came out way better than expected and while you could totally eat it for breakfast or a snack, it does contain added coconut sugar to make it more of a cake like consistency so you may want to keep it as a treat!


Carrot Cake Banana Bread (GF, DF, V)
 
Prep time
Cook time
Total time
 
Serves: 10-12 slices
Ingredients
Carrot Cake
Cashew "Cream Cheese" Icing
Instructions
  1. Preheat oven to 350 degrees F and line bread pan with parchment paper.
  2. In a large bowl, mix together gf flour, quick oats, baking soda, cinnamon, nutmeg, ginger + salt.
  3. Then add in mashed banana, coconut sugar, flax egg, vanilla, and coconut oil until well combined and creamy. Fold in carrots. Then finally fold in raisins and unsweetened coconut flakes if you’re using.
  4. Pour into loaf pan and sprinkle with walnuts or pecans. Bake for 45 minutes until a toothpick comes out clean.
  5. Remove from oven and cool for 15 minutes. Remove bread from pan and place on wire rack to finish cooling completely.
  6. While the bread is cooking, make the cashew cream cheese drizzle. Place all ingredients into the blender and gradually increase speed to high until it’s well blended and a creamy texture has been created.
  7. Once cake is cooled, spread cream cheese on top, sprinkle with chopped nuts and serve!


It’s the perfect Easter + Passover dessert. Enjoy!

With Health + Happiness Always,

Jax

PS – Check out my exclusive nutrition + fitness offers and discounts on Gilt City before then end of 4/1!